Whenever I see a surface that calls me to somehow,
I imagine.... rusting.
That's what happened when I saw this simple
plastic clock; I had to have it and I knew
what HAD to be done.
I imagine.... rusting.
That's what happened when I saw this simple
plastic clock; I had to have it and I knew
what HAD to be done.

The Sophisticate Finishes Iron Surfacer comes in
a 4oz bottle and is a dark grey, heavy cream consistency.
I always need to shake it well so all the ingredients
are evenly mixed. In my estimation, after using this
product for years, there is some "real" iron and steel
in this bottle. First of all, the bottle is really heavy. (first clue, huh?)
There's a glass ball that rolls around inside the bottle when
you shake it so when you hear that sound
you know its well shaken.
Next, I pour some out into a little yogurt cup
and with a small sponge brush, I apply the surfacer to the
the clock.
OOOPs, first you might want to rough up the surface of the
clock, since it's a smooth plastic. I either sand it with a fine sandpaper,
or something new that I found etches plastic quite nicely is
Citra Solve Concentrate. Just brush on a coat all over
the plastic, let it sit a while and wipe off with a damp sponge or cloth.
That stuff really etched a plastic cup for me so it is something
that I would recommend.

Here I am applying a coat of the surfacer to the clock.
It looked fairly thin to me after the first coat so I gave it a
second coat after this one dried. The best thing to do is
wait until the next day to do a re-coat. I am not a very patient
person, but I will find more things to rust while I am waiting
and time goes by fast anyway.
When the iron surfacer has dried completely, it's time to apply
the rust solution. This too comes in a 4 oz bottle
and is very liquid, like water although the color is a light blue.
I generously apply this over the entire surface and then it's time
to wait.... again. Sometimes I will get out a hair dryer or
a heat tool to speed things along, but in the long run, time
and patience is of the essence.
Not rusty enough for you? Add another coat.
It's not rocket science - it's ART, so go for it.

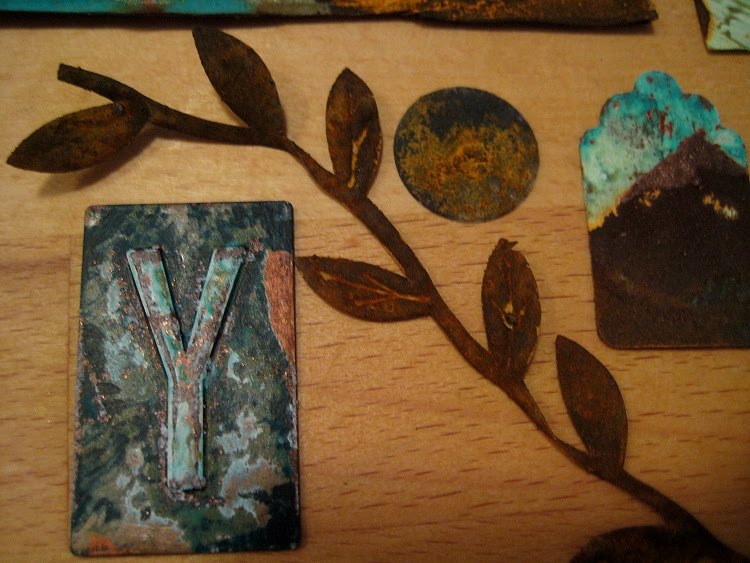
Look at the texture after the rusting solution is applied! Isn't it amazing?


